Last Updated on July 13, 2021 by James
Table saws are one of the most helpful tools in a workshop for both professionals as well as non-professionals alike. All tools are helpful in a workshop but the benefits of a table saw’s spinning blade is irreplaceable.
In our concise guide, we share with you 5 essential; table saw safety tips to help you make clean, straight and safe cuts for your woodworking projects. The importance of it lies in the fact that in understanding it, you will be able to cut extra long, extra thick and extra wide wood without much of a hindrance.
1. Use Featherboards
Featherboards can act as your extra set of hands when you are using a table saw. It helps you pull out smooth and straight cuts. If you want to hold the wood tightly against the fence of the saw then featherboards even come with a series of wooden fingers. The good part about these wooden fingers is that they are flexible to a certain extent to help you cut through the wood in a certain angle. You can push through the wood while you even maintain the firmness and pressure of it. If you feel it is kicking back, you can even hold the wood in place and dig in deeper. So in a way, you can say featherboards will act as your third hand if you want the perfect cutting. All you have to do is push the featherboard against the wood piece upto 1 or 3 inches and then brace it tightly to the table saw.
Sometimes it could so be that when you are pushing it through the wood, it could be hard to pull back, especially if it is a large board that you are ripping. In this case, add a second clamp to the board for extra support and firming the pressure.
You could even make your own featherboard with a 2 feet length with a knot free of 1×4. One side of it has to be cut at 45 degrees angle, and then you have to cut A series of 4 inch long kerfs which has to be thin enough so that the long fingers could flex slightly.
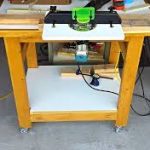
2. Set Up An Outfeed Support
If you think you could rip the last few feet of the board without support, then it is going to be an impossible task for you. You could make that up with expensive roller support but if that comes pricey for you, you could also make up with temporary outfeed support with the help of clamps and plywood. The clamps should be 2x4s so that it can keep the table saw against the plywood perfectly on the surface. Without getting stuck, the boards will easily slide on to the support.
If you wish to create a temporary outfeed table, attach two 8 feet long 2x4s against the saw table. Hereafter, screw a ¼ inch plywood on the underside of the 2x4s. Make sure that you are using it with a contractor size or larger table saw that has heavy steel or iron tables. If you are using lighter benchtop saws then it could cause it to bend or tip.
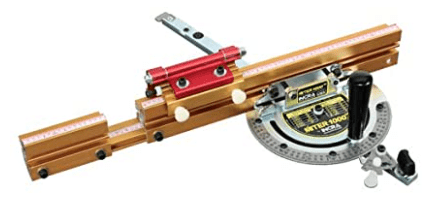
3. Add A Fence To The Miter Gauge
If you want smoother crosscuts and look for better support when you are cutting at a certain angle, use the narrow width of a miter gauge for this purpose. If you want more support, attach a wood fence to the miter gauge as most miter gauges have holes for the same purpose. You could use a straight 1×3 or even a 1×4 depending on the purpose it serves, and make sure that it is high enough so that it does not get cut off by the blades completely. Always ensure that you double check the accuracy of the miter gauge with the help of a protractor or a square before you make any cuts with it.
If you want to make multiple cuts or make changes in the angle, you could even add a removable stop block with the miter cuts in the same fence. Aforementioned, always keep a check on the accuracy of the miter gauge with the help of a protractor or a square before you make any cuts. If you want to avoid kickbacks while you are cutting, push the fence past the blade completely, and turn the saw off while you remove the newly cut pieces.
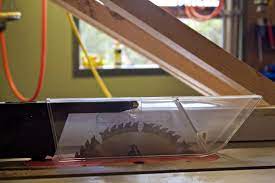
4. Clamp-On A Long Fence And Avoid Grains
Keep a longboard which is heavy or use a plywood sheet tightly against a short fence – however, this could be a challenging task, especially if you work alone. It rather easier for the wood to move away from the fence, or the blade to bind when cutting or creating burn marks on the edges. However, if you want to avoid these issues while you are using your table saw, clamp a long fence to create longboards by the fence. The wood will firmly clamp against the fence, the longer is its length.
If the wood you are using has wavy grains in them that have unevenly dried out, it could warp unevenly when you cut them. If they tend to bend outwardly, one side might push against the fence and this could cause burn marks or even cause uneven cuts. If this occurs in your cuts, clamp a smooth ¾ inch straight wood against the fence, which will end at the center of the table saw. The half fence will give the bended piece some space to bend without pushing against the blade. If the two halves begin bending towards each other as you cut them, turn the table saw off and wedge off a shim between the two pieces. This way you can complete the cut.
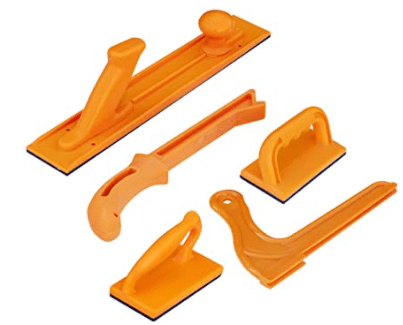
5. Use Push Sticks And Narrow Strips
If your hand is within one foot of the blade of the table saw, it is about time you use a push stick. This is an important table saw accessory that helps you to solidly hook the end of the longboard. It helps you hold it down firmly, while you push the table saw through it. You can complete a straight cut without worrying about putting your hands anywhere close to the blade. Use the narrow push sticks for cutting smaller and lighter boards wherein you have to make narrower cuts. Use broader and flat push sticks when you are cutting a heavier and wider board in which you have to apply more downward pressure.
Using push sticks comes handy as it is light and tough and it won’t split even if you use a sturdy wood board. However, the thickness and style will depend on the kind of wood you use.
Another good table saw accessory is narrow strips for shelfing edges, wherein you do not have to guard or move the fence every time you make a cut. All you need to do is attach a short strip of wood which is thinner than the width of the rip cut by the edge. Hereafter, hold the board against it and then push the jig through it, which will help you keep your hands away from the blade so that you can make as many cuts as you want without moving the fence.
Here Are The Necessary Table Saw Accessories
Now that you know the basic safety tips to using a table saw without injuring yourself or spoiling the wood boards with it, let us briefly guide you through the required tools you will need to help you in using your table saw better:
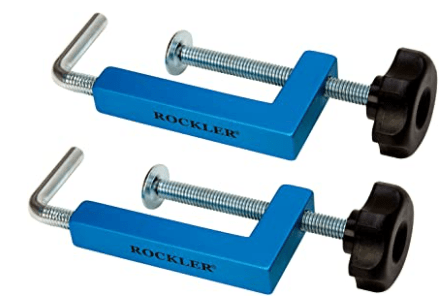
1. Clamps
2. Level

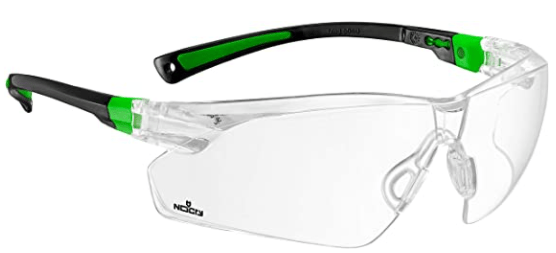
3. Safety Glasses
4. Hearing Protection
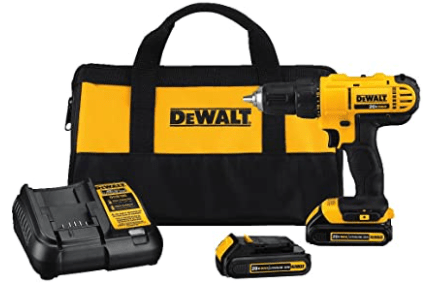
5. Cordless Drill
6. Push Sticks
7. Miter Gauge